Friday, April 29, 2016

Repairing Antique Timbers

We had four damaged girts (long beams that go across a bent and support floors) to repair. Two required replacement of damaged wood with replacement wood, and the other two needed steel reinforcement.
Nothing like taking a perfectly damaged timber and ripping it in half - lengthwise. We started a cut with the big circular saw, then finished with the beam saw to get a 1/4" slot for the steel reinforcement plate. 

With good blocking below the damaged timber, we then drove the plate in the slot with a sledgehammer.


Plate in place with bolts locking it in place.


 This timber had a small section of rot where a stud pocket sat. We removed the decay and glued in a piece of dimensional lumber and anchored with a few timber lock screws.

This timber had two sections with damage around stud pockets. The damaged areas were removed, then replacement vintage oak was fitted up and glued in with Gorilla Glue. 


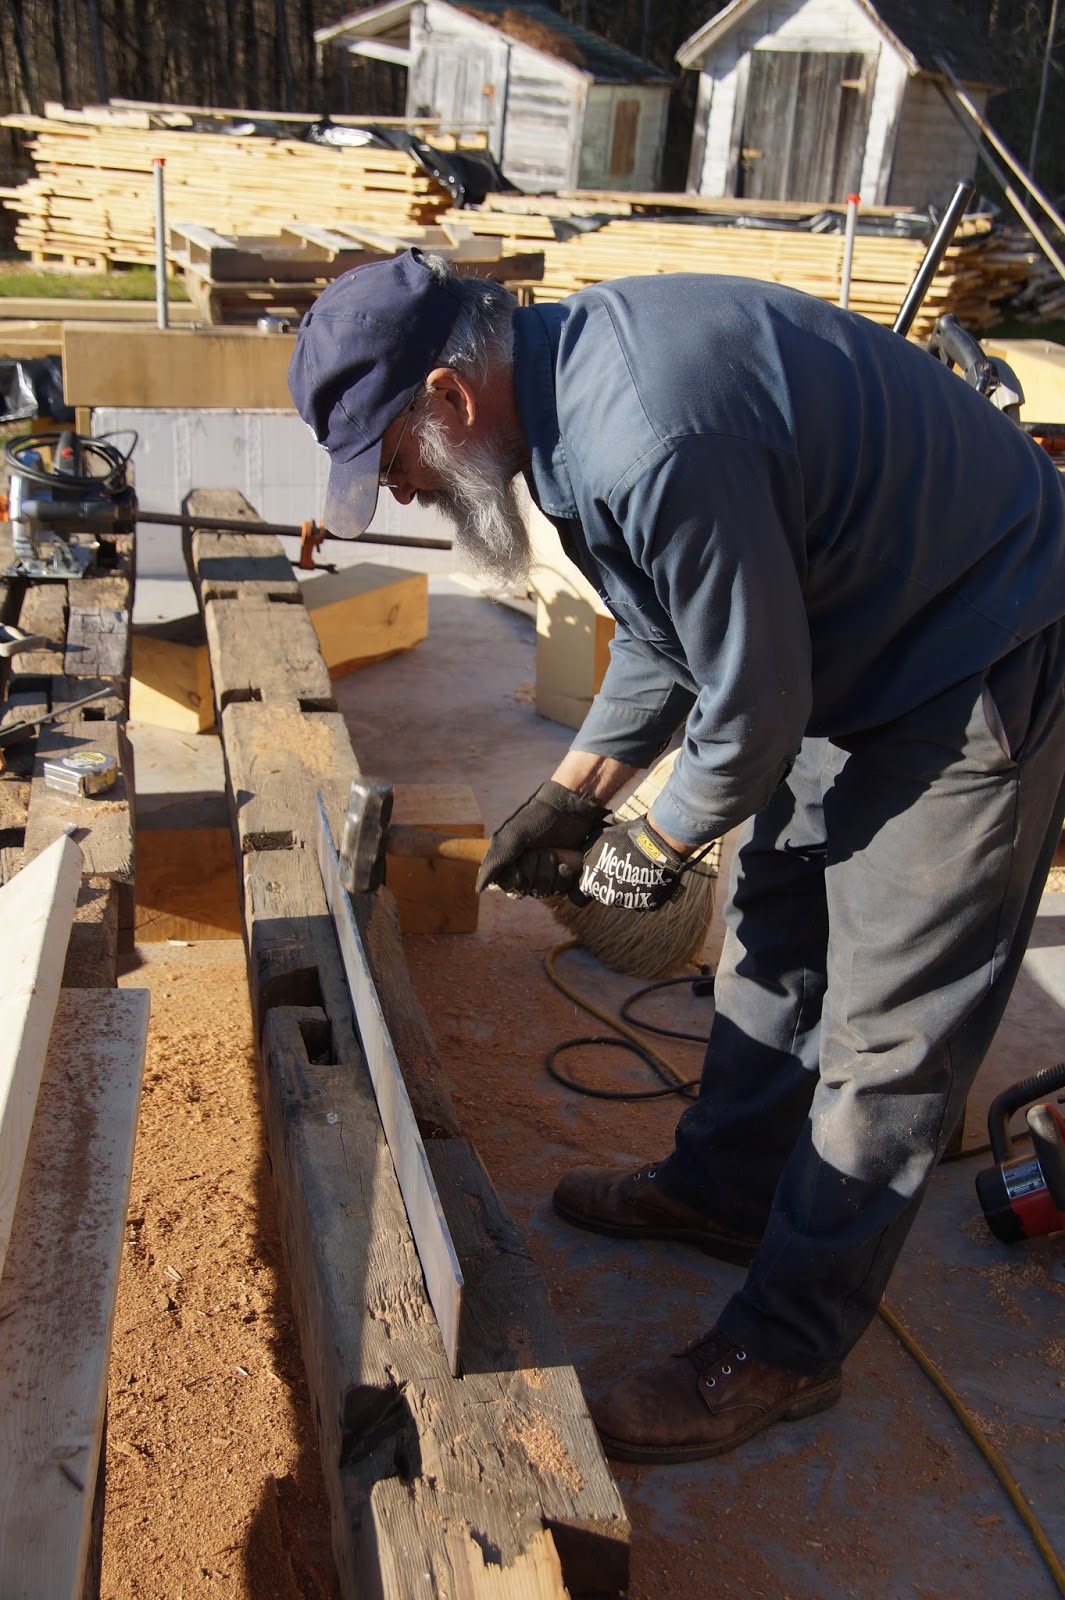
One of the two replacement pieces after being glued in and cleaned up with the axe and slick. All that is left is to make a new mortise for the stud to sit in. 


The outside of this post was rotted away, but the inside face was complete. After the post was cleaned up, a piece of rot resistant Larch was gorilla glued in place, then the repair was cleaned up with an axe and a slick. 

Saturday, April 23, 2016

Surveying Damaged Timbers

This is the puzzle we're trying to put back together. This picture was from when the house was disassembled in the early 90's.  


This week we started surveying the timber frame for missing parts and damaged parts. Braces are the big unknown, but of the major timbers, we need to repair one of the eight posts, and three of the eight girts - the 28' cross-beams that make up the bents. Each section of the frame is called a bent, and has two posts interconnected by the two girts. 


The ties between the bents are half missing - we have three of the six, and need to make the other three. We also have one missing post for the purlin beams that hold up the rafters mid-span. 

The damaged post after Tom carved it back to solid material, Two faces had good seats still, but there's a section about 5" x 6" that had to be carved away from the outside corner to reach solid oak. 

 
This is a break in one of the girts.  

Same timber from the top. 

I had the local fabrication shop cut us up some steel plate and angle iron to piece this back together. We may add some wood to the rear just to restore a stud mortise, but the steel will provide the strength needed to put the timber back in service. 

 I bought $100 of nice galvanized bolts, and promptly dumped them in Muratic acid to remove all the plating. They will rust up nicely to not draw attention to the repairs they will be anchoring. 
  

This timber had two big pockets of decay from water damage. We'll just cut them out and fill in with some similar antique oak and glue it in with gorilla glue. 

 One of the areas of decay cleaned up - now just need to cut and fit a patch. 

Tuesday, April 19, 2016

Setting the sills

From Friday to Monday I roughed out all the sill timbers and did the mortise and tenon joints for the two front corners of the building. The rear corners have at least three anchor bolts per timber, so we just did a butt joint there.  The long wall I made two lap joints that sit over the anchor bolts. 

The finished corner mortise and tenon with the tools to make the mortise - an antique boring machine, my framing chisel, and my mallet.

The 32' beam for the long wall - with a corner mortise and tenon, and two laps joining the three timbers. 

 My layout tools for the joinery work.

 Saws - the left is a friend's beam cutter, then my 10 1/4 inch circular saw and a 7 1/4" 18V cordless circular saw. The cordless is a great upgrade to my 30+ year old Craftsman corded saw - way more power, more accurate and lighter weight with the brushless motor and magnesium base.

Tuesday we set all the sills in about 4 hours, including drilling holes for all the conduit and anchor bolts.

Friday, April 15, 2016

Starting the timber frame

Tom and I officially started on the timber frame today. First order of business was pulling out some of the antique timbers so we could get at the posts and assess what needs to be done on them. One will need a repair on the bottom where some of the material has decayed. Several have missing stub tenons, so work to be done to locate the posts without the tenons. 


After we figured out where the sills go on the building, I started cutting the sills to length and making the joinery. I'll lap the sill on the 32' contiguous wall, and the corners by the garage doors will be joined by mortise and tenon. The other two corners will be a butt joint, possibly with a spline between the members. With anchor bolts every 6', nothing will move.


Some of the first joinery - the longer members are the outside pieces of the 32' run, with their lap joints cut in. The shorter piece is for the gable wall and has a tenon to join to the adjacent member.